OpenCV - Google Summer of Code - Part 2
This is the last week of Google Summer of Code and I’ve finished the work I had
planned. My contribution to OpenCV was adding the ‘viz3d’ namespace to the
highgui module. The functions defined in this namespace allow the visualization
of 3D meshes, point clouds, lines, RGB-D images, and primitives such as
spheres, boxes and planes. It uses the same window system functions such as
imshow() use which makes the API familiar to old users. Here is the
link
to my project. My pull request can be found here.
Obstacles
One of the major issues I had was that although the window system already had
support for OpenGL rendering, it was very basic and was made with old OpenGL
in mind. For example, while the system exposed a setOpenGlDrawCallback
function, there was no setOpenGlFreeCallback which would free the objects I
needed to allocate for rendering. I ended up extending the windowing system
with new functions, such as setOpenGlFreeCallback, getOpenGlUserData and
others.
These new features allowed me to build the viz3d functionality on top of the
already existing system. When a viz3d function is called for the first time on
a window, an internal object which handles the 3D view and all of the objects
on the window is allocated and set using setOpenGlDrawCallback, and later
freed by the new OpenGL free callback.
Now I faced a different problem: the OpenCV OpenGL wrapper had no modern
functionality implemented (for example, no vertex arrays and no shaders). So I
also needed to extend the OpenGL wrapper on the OpenCV core module. I added
the Attribute, VertexArray, Shader and Program objects and added new
functions for some functionality that wasn’t exposed.
Features
All of the new features are implemented in the cv::viz3d namespace. Every
function takes as the first argument the name of the window where the action
will take place. Functions that act on objects always take a second argument
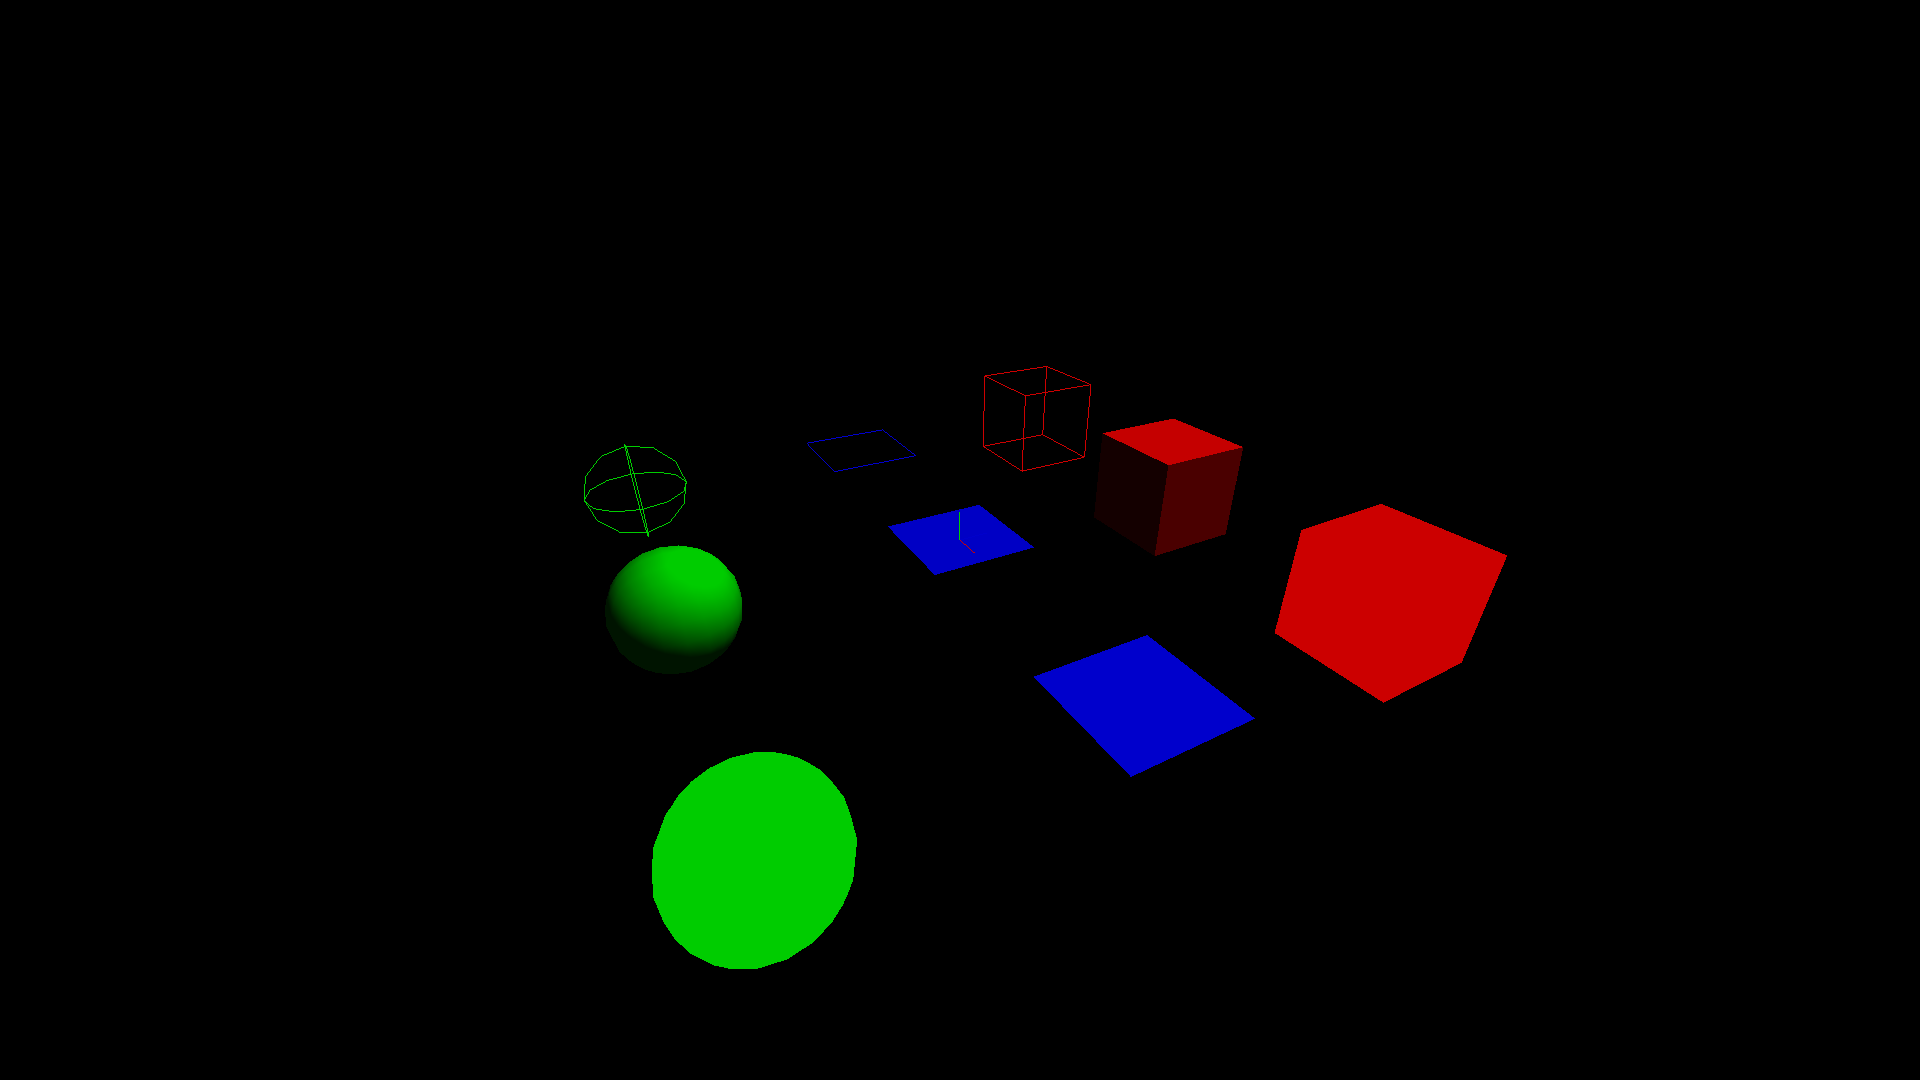
which specifies the name of the object. For example, If we want to show a red
cube at coordinates (5, 5, 5), we can write:
/*                 window       object     box size              box color */
cv::viz3d::showBox("my window", "my cube", { 1.0f, 1.0f, 1.0f }, { 1.0f, 0.0f, 0.0f });
/*                           window       object     new position */
cv::viz3d::setObjectPosition("my window", "my cube", { 5.0f, 5.0f, 5.0f });
/* Theres also a setObjectRotation */
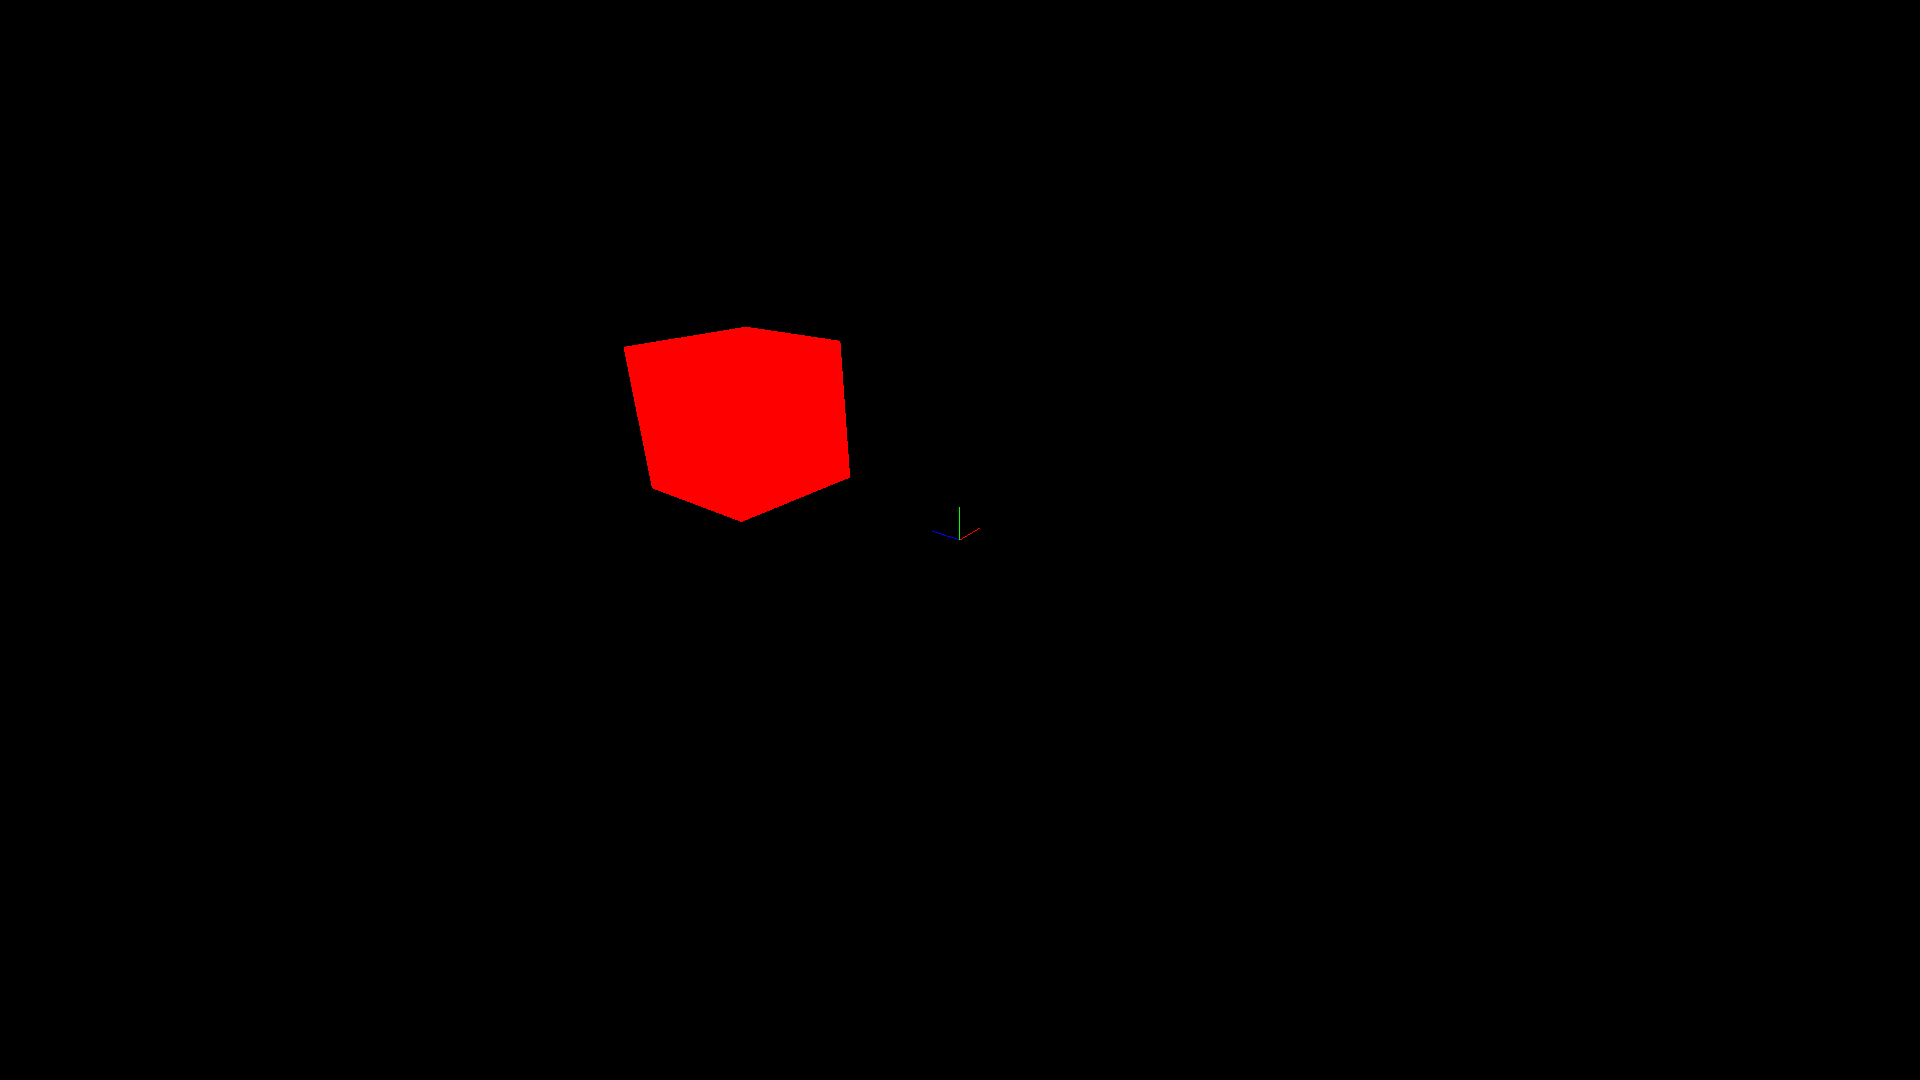
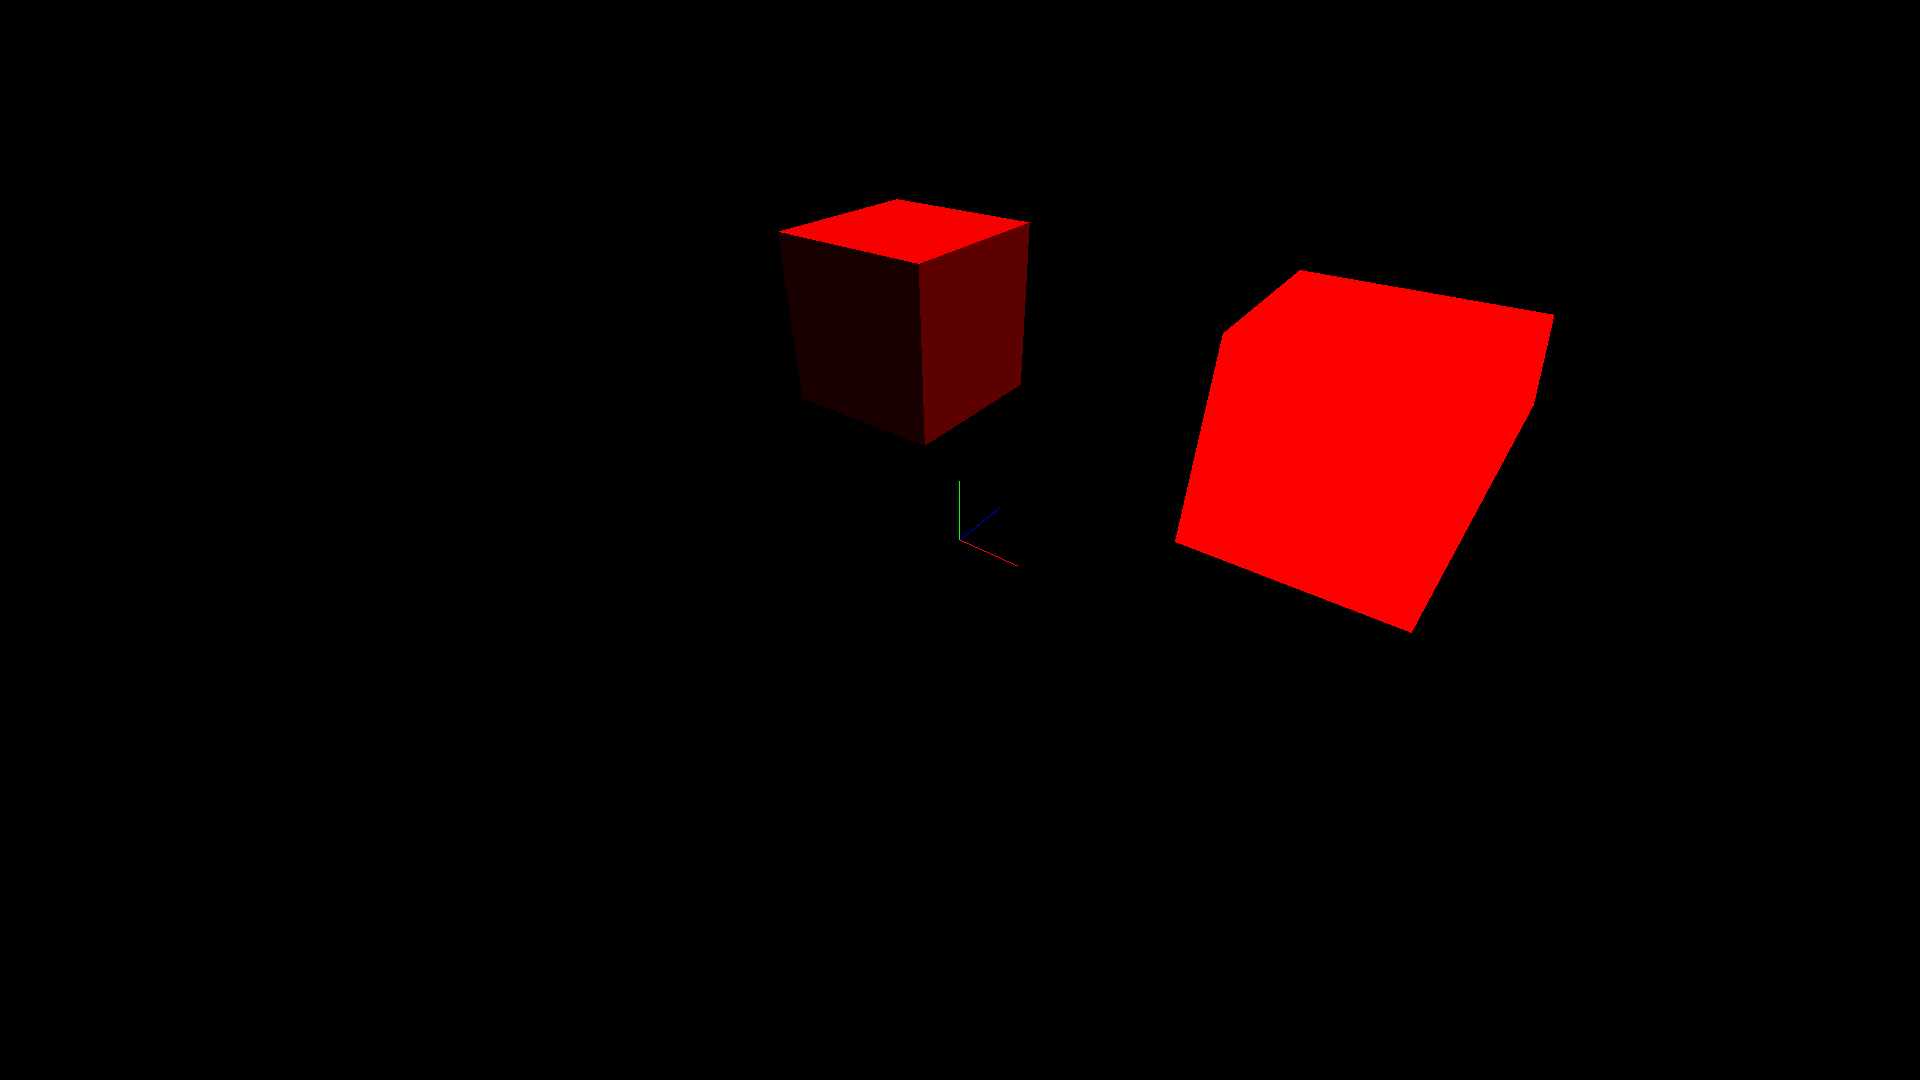
If you want to show a shaded cube, you can set the render mode to RENDER_SHADING (the default is RENDER_SIMPLE),
cv::viz3d::showBox("my window", "cube 1", { 1.0f, 1.0f, 1.0f }, { 1.0f, 0.0f, 0.0f });
cv::viz3d::showBox("my window", "cube 2", { 1.0f, 1.0f, 1.0f }, { 1.0f, 0.0f, 0.0f }, cv::viz3d::RENDER_SHADING);
cv::viz3d::setObjectPosition("my window", "cube 1", { 5.0f,  0.0f, 5.0f });
cv::viz3d::setObjectPosition("my window", "cube 2", { 0.0f,  0.0f, 5.0f });
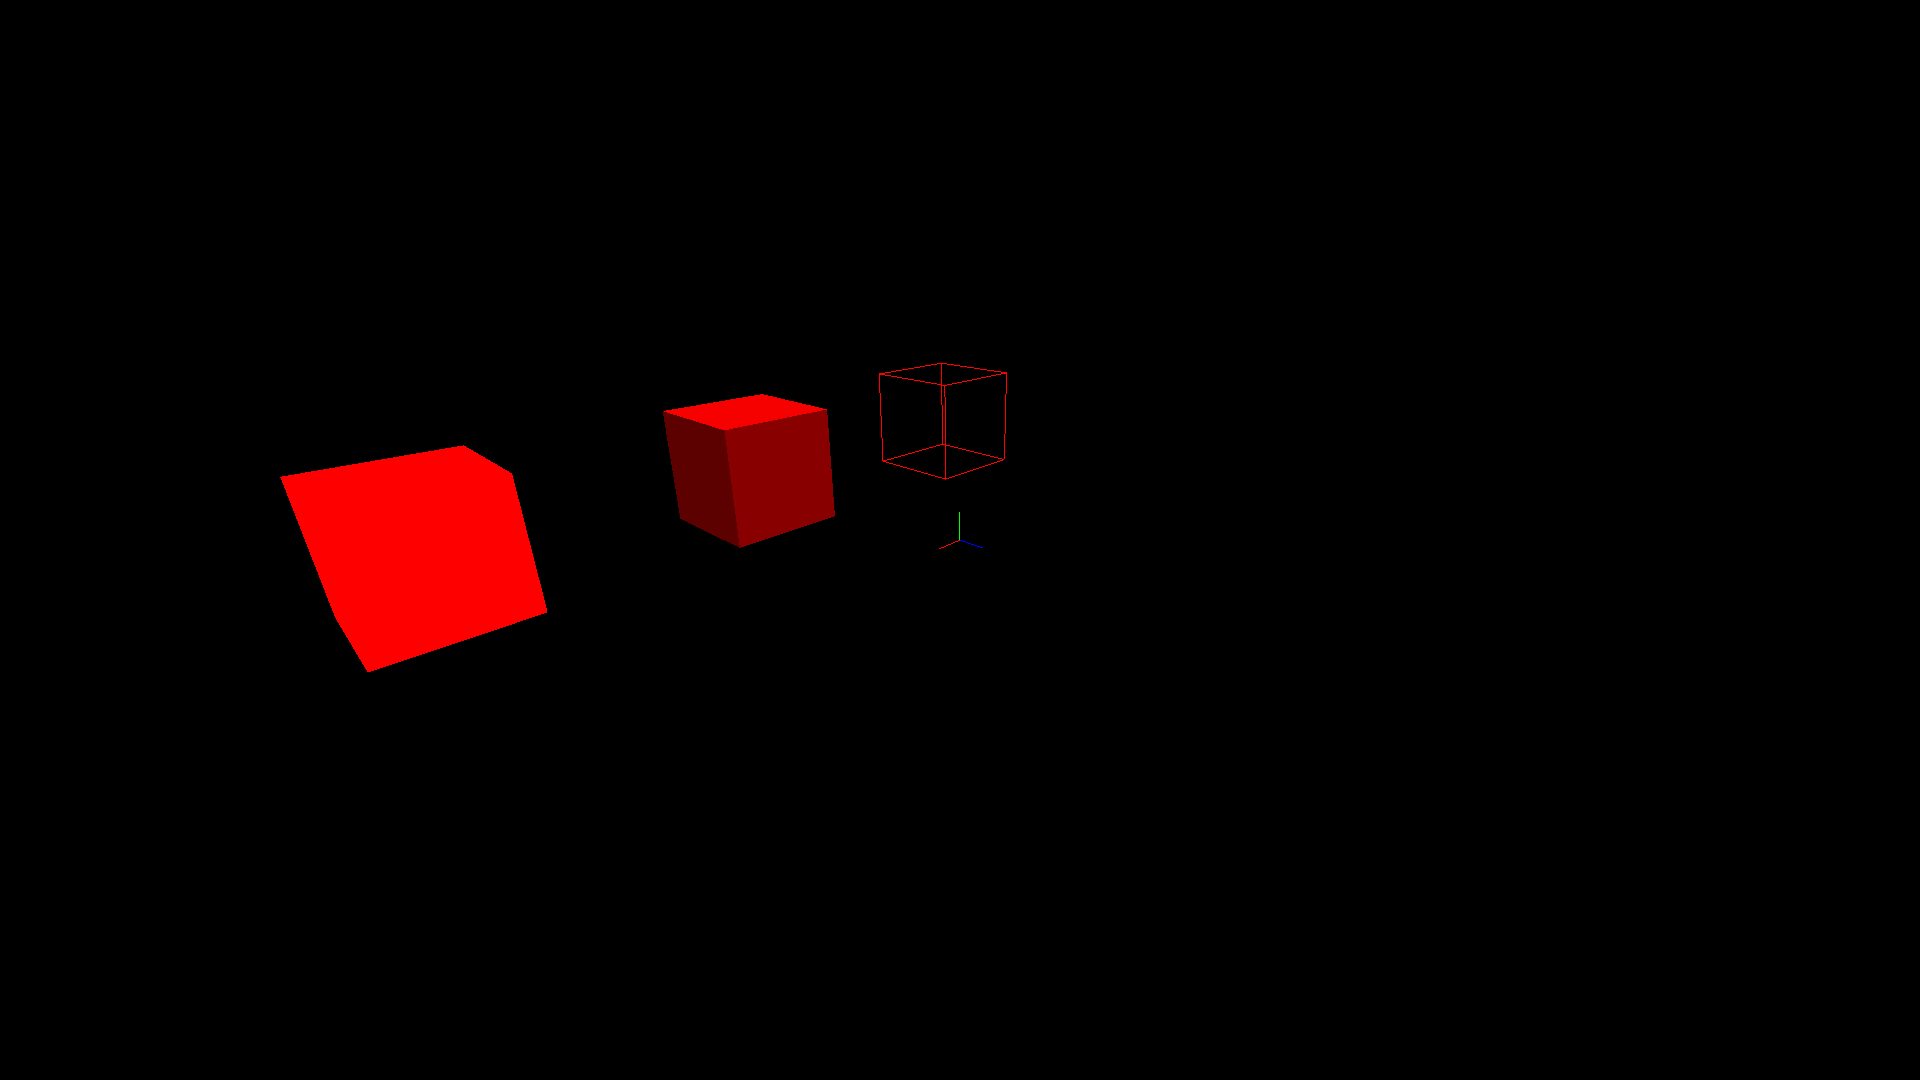
You can also show a wireframe cube:
...
cv::viz3d::showBox("my window", "cube 3", { 1.0f, 1.0f, 1.0f }, { 1.0f, 0.0f, 0.0f }, cv::viz3d::RENDER_WIREFRAME);
cv::viz3d::setObjectPosition("my window", "cube 3", { -5.0f, 0.0f, 5.0f });
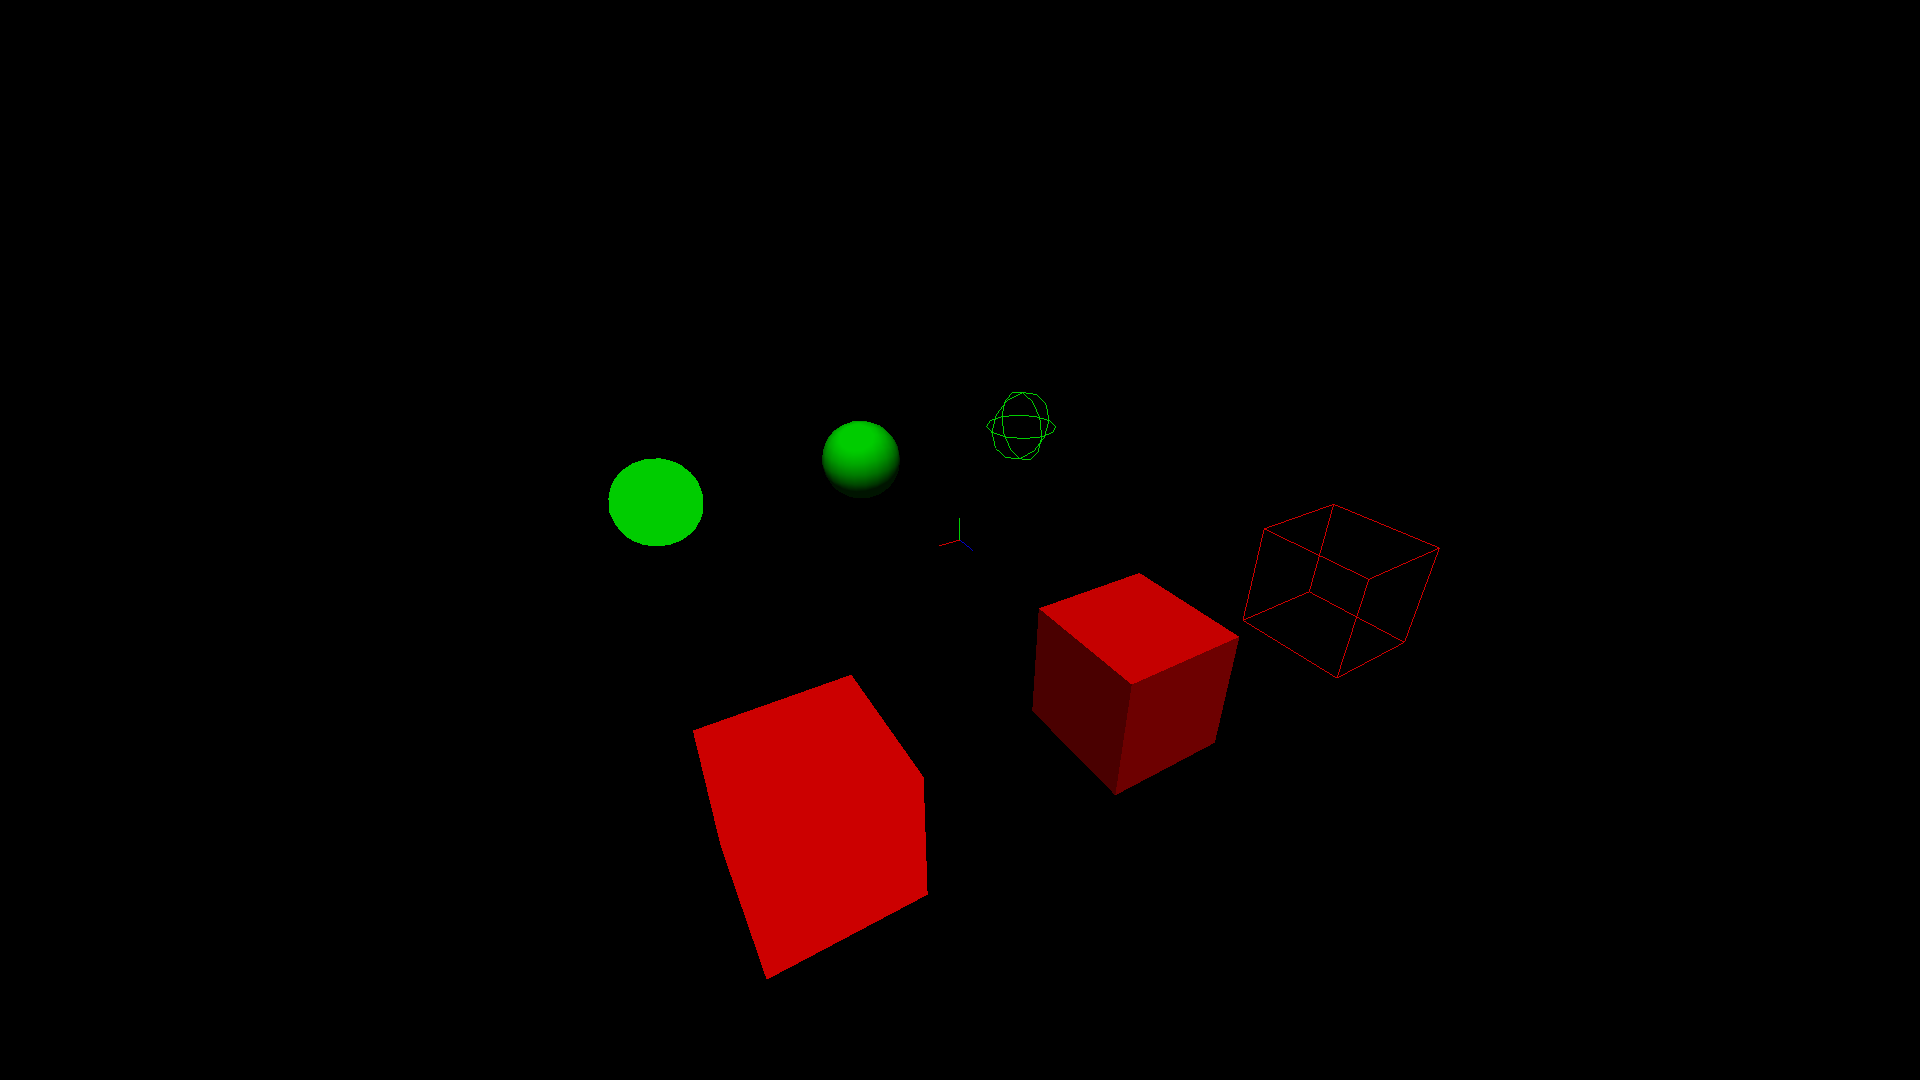
We’re not limited to boxes, we can also show spheres:
...
cv::viz3d::showSphere("my window", "sphere 1", 1.0f, { 0.0f, 1.0f, 0.0f });
cv::viz3d::showSphere("my window", "sphere 2", 1.0f, { 0.0f, 1.0f, 0.0f }, cv::viz3d::RENDER_SHADING);
cv::viz3d::showSphere("my window", "sphere 3", 1.0f, { 0.0f, 1.0f, 0.0f }, cv::viz3d::RENDER_WIREFRAME);
cv::viz3d::setObjectPosition("my window", "sphere 1", { 5.0f,  0.0f, -5.0f });
cv::viz3d::setObjectPosition("my window", "sphere 2", { 0.0f,  0.0f, -5.0f });
cv::viz3d::setObjectPosition("my window", "sphere 3", { -5.0f, 0.0f, -5.0f });
And planes:
...
cv::viz3d::showPlane("my window", "plane 1", { 1.0f, 1.0f }, { 0.0f, 0.0f, 1.0f });
cv::viz3d::showPlane("my window", "plane 2", { 1.0f, 1.0f }, { 0.0f, 0.0f, 1.0f }, cv::viz3d::RENDER_SHADING);
cv::viz3d::showPlane("my window", "plane 3", { 1.0f, 1.0f }, { 0.0f, 0.0f, 1.0f }, cv::viz3d::RENDER_WIREFRAME);
cv::viz3d::setObjectPosition("my window", "plane 1", { 5.0f,  0.0f, 0.0f });
cv::viz3d::setObjectPosition("my window", "plane 2", { 0.0f,  0.0f, 0.0f });
cv::viz3d::setObjectPosition("my window", "plane 3", { -5.0f, 0.0f, 0.0f });
Points clouds can be shown using showPoints or showRGBD. The first function
takes as argument a cv::Mat containing the point cloud. It must be 2D and
have 6 columns, where each row represents a point. The first 3 rows contain
the point’s position and the last 3 the point’s color. Here is a bee point
cloud shown using showPoints:

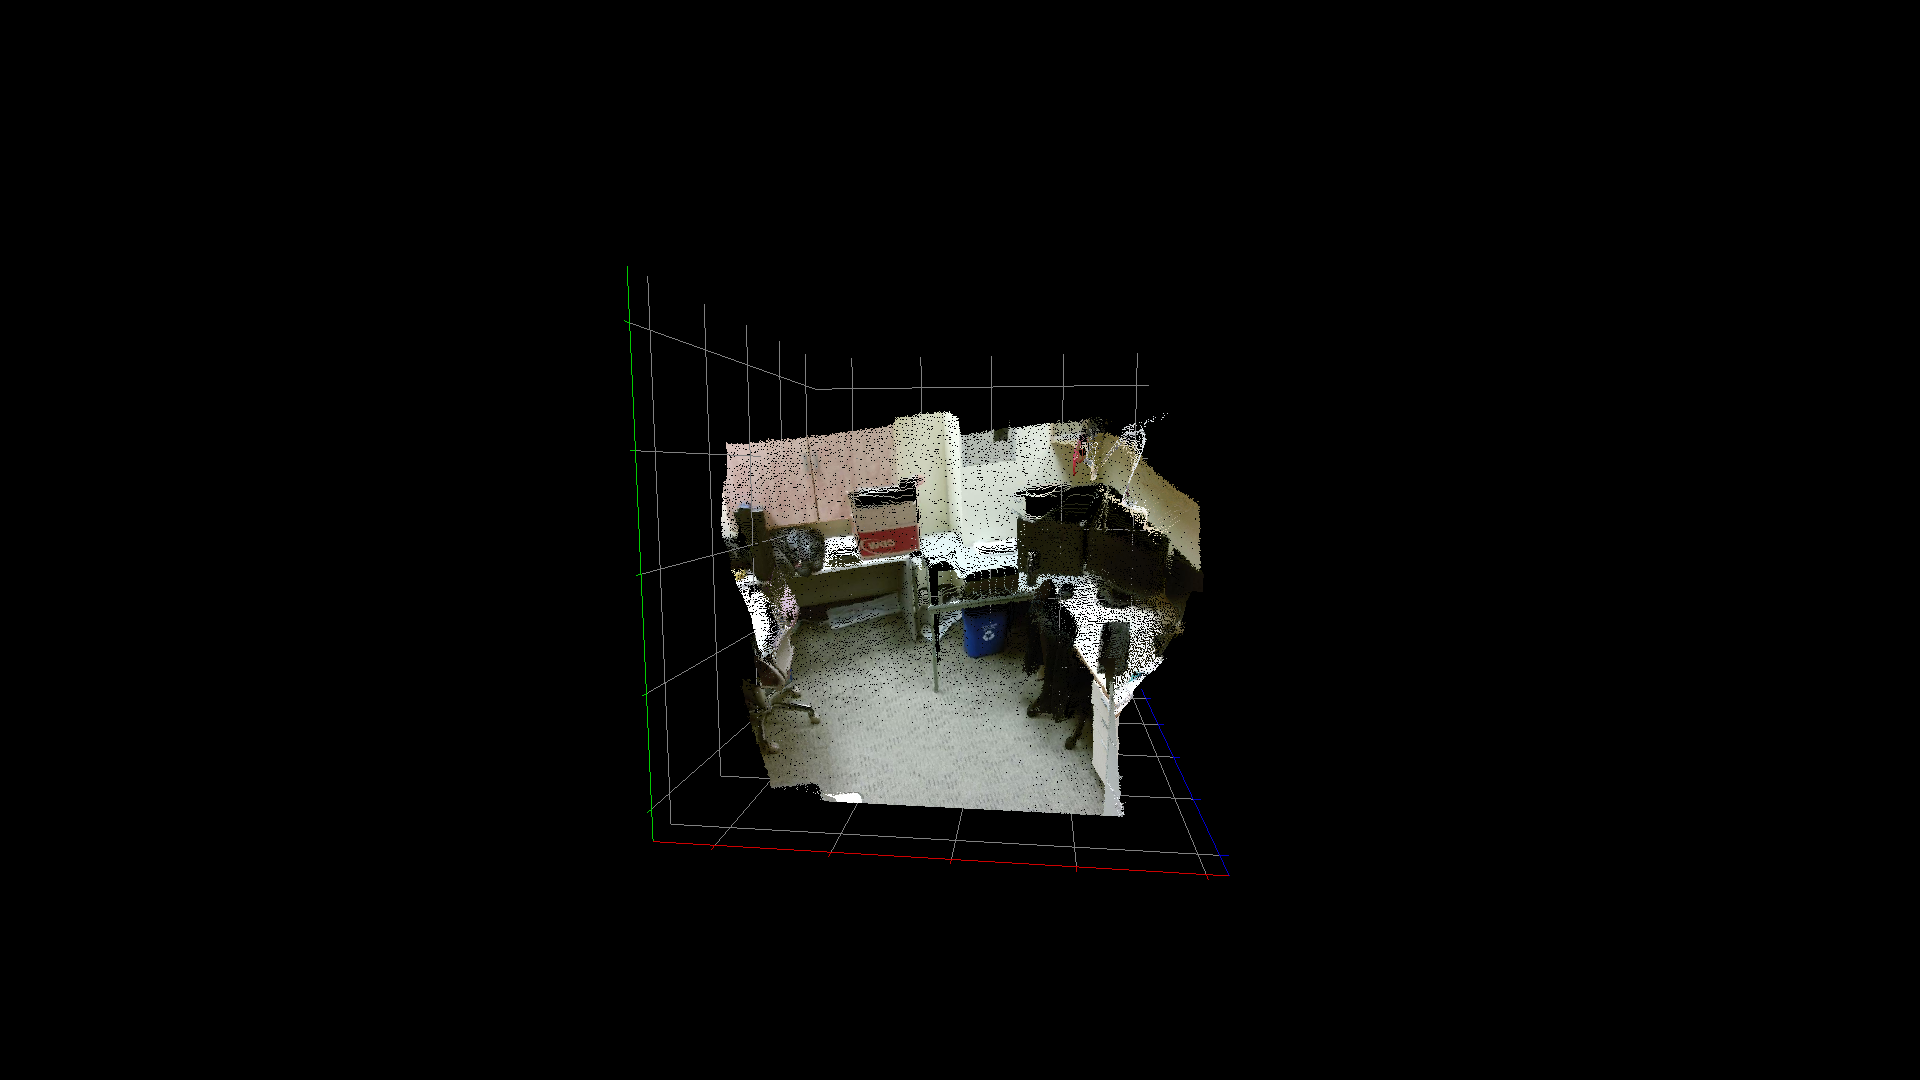
The second function, showRGBD, takes as arguments a cv::Mat which contains
a RGB-D image (4 channels) and a camera’s intrinsic matrix, and shows the image
as a point cloud. In this example I used setGridVisible to show a grid with a
coordinate system instead of a crosshair. I wasn’t able to implement labels yet
but I may work on it later.
There’s also showLines, which works the same as showPoints but makes each
pair of consecutive points a line. showMesh follows the same logic but with
triangles instead of points. In showMesh you can choose either to use indices
to define the triangles or group vertices 3 by 3. You can also choose to add
normals and colors to the input cv::Mat so that the shown mesh is shaded.
Lastly, the camera, lighting and ambient can be configured using
setPerspective, setSun and setSky, and objects can be destroyed using
destroyObject.
Sample
I created an example (samples/cpp/viz3d.cpp) which shows all the features I
mentioned here. You can test it by building the OpenCV project with
WITH_OPENGL and BUILD_EXAMPLES set to ON. Here is a video showing how the
user interaction works (the view is controlled using only the mouse):

Comments